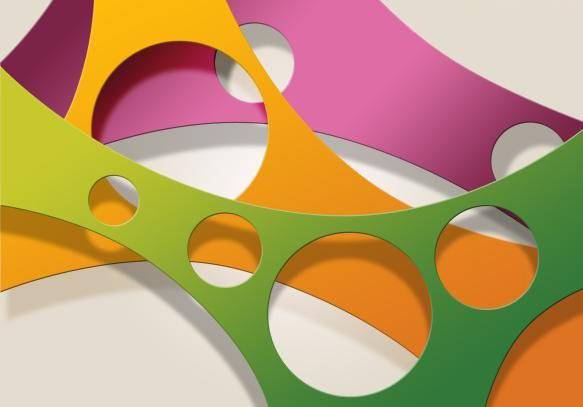
效果图:
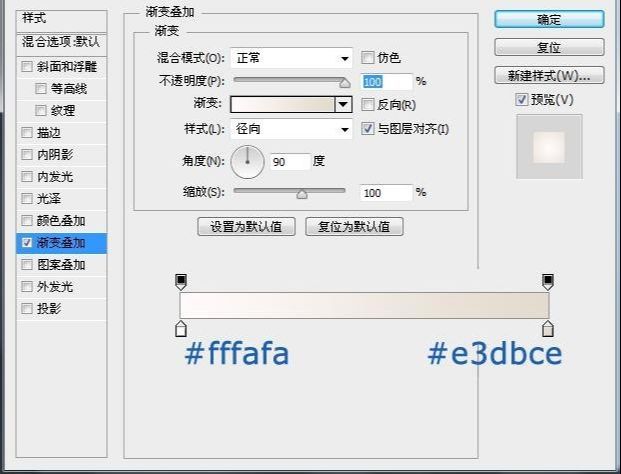
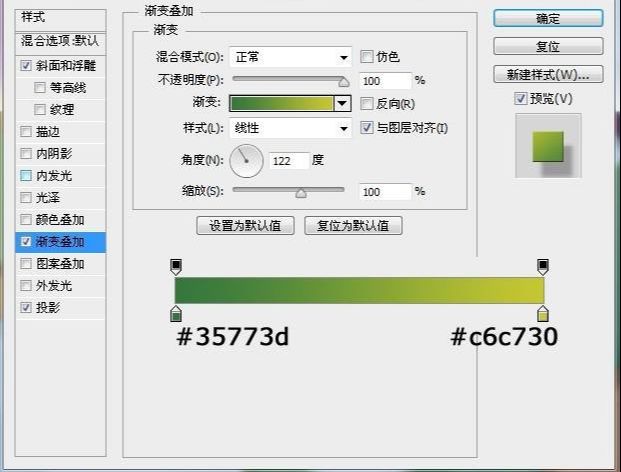
Step 1.
打开photoshop,新建一个1280×1024px的文件,背景直接填充任意颜色,在背景图层上双击打开混合选项面板,点击渐变叠加,设置参数。

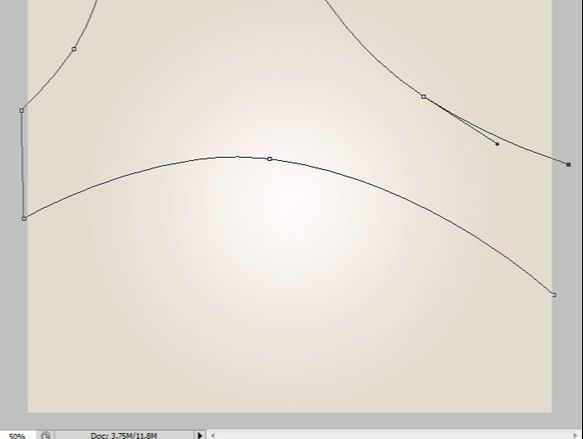
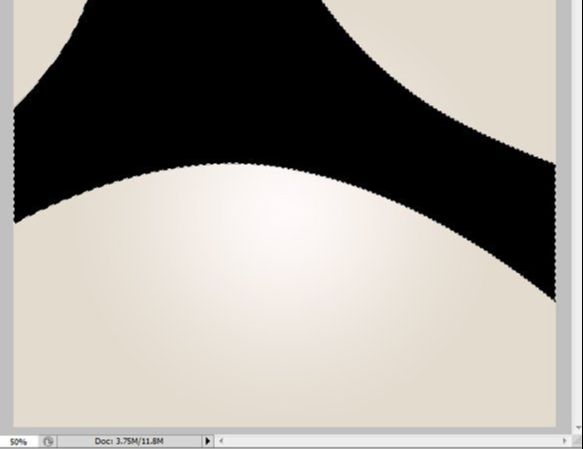
Step 2.
现在新建一个图层,选择钢笔工具,勾勒出喜欢的一个形状,然后填充任意颜色。
Step 3.
选择椭圆工具,按住shift键在这个图层上随意拖出一个圆,按下delete删掉,创建出圆孔。重复这样子做几个圆出来。

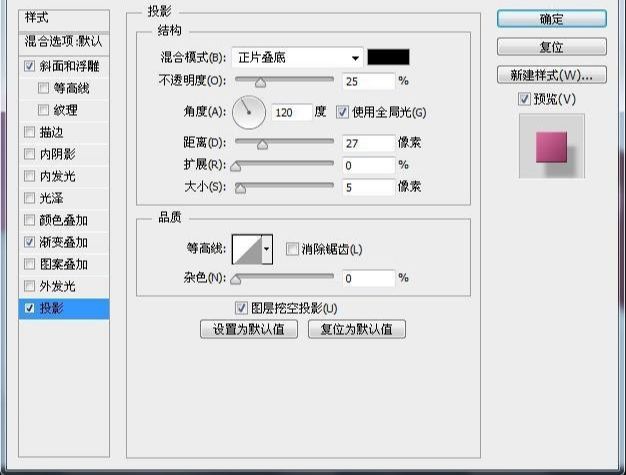
Step 4.
双击图层打开混合选项面板作设置。

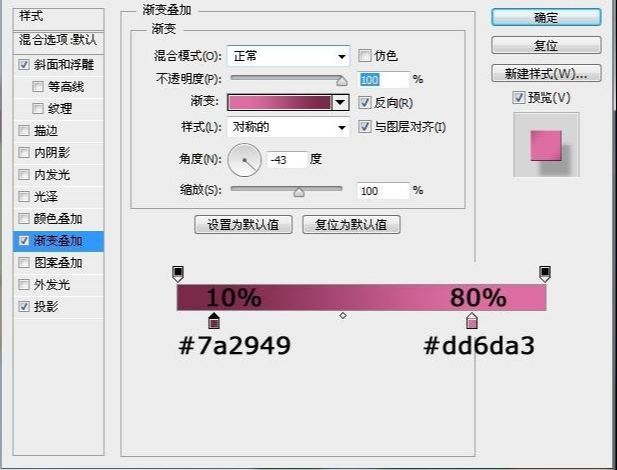

Step 5.
使用钢笔工具勾勒出一个形状,填充任意颜色然后挖出一个孔。

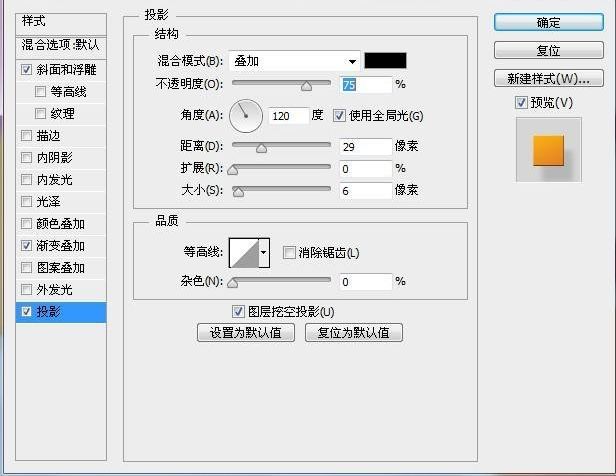
Step 6.
设置混合选项属性。


Step 7.
新建一个图层创建一个新的形状并打孔。

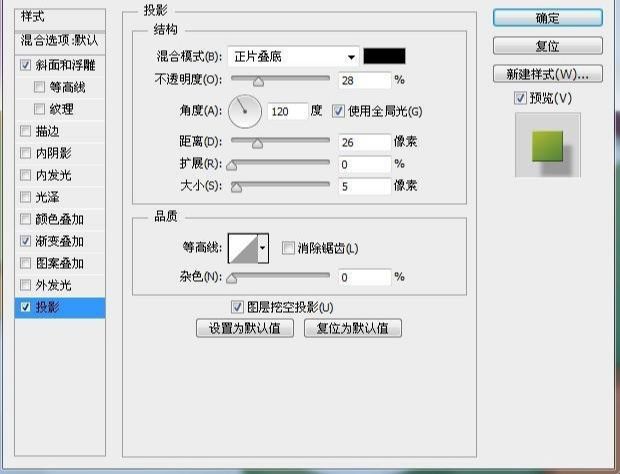
Step 8.
再次添加样式。


全部回复


 0
0